
Kodi is an open-source streaming software that gives users full customization with the ability to install compatible add-ons to increase functionality. If you are searching for how to install add-on on Kodi in 2023, this guide is for you.
In this article, we’ve shared a step-by-step guide on installing add-ons on Kodi. The methods outlined in this article can be used on FireStick, Fire TV Cube, Fire TV, Android Boxes, Android, Windows, and other supported devices.
The steps we will highlight in this article are the general procedure for installing add-ons on Kodi; we will make different guides for other add-on that require different procedures.
How to Install any Add-Ons on Kodi in 2023
The process of installing add-ons on Kodi is largely the same. Follow the instructions below carefully;
Enable Unknown source Installation on Kodi.
Like Firestick and Android mobile devices, Kodi doesn’t allow installations from third-party sources for security purposes. However, you can change this setting by following the instructions below;
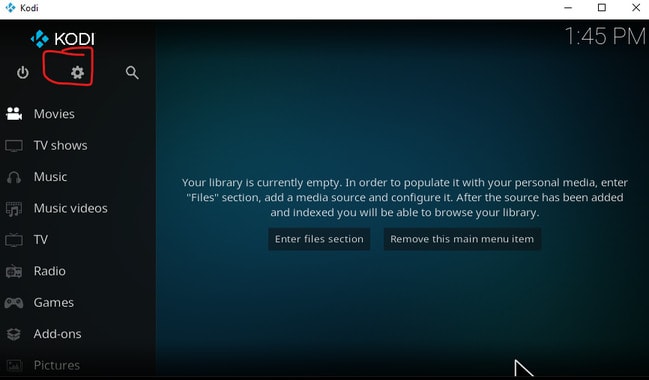
- Launch Kodi on your devices and click on the settings icon at the top left corner of the screen.
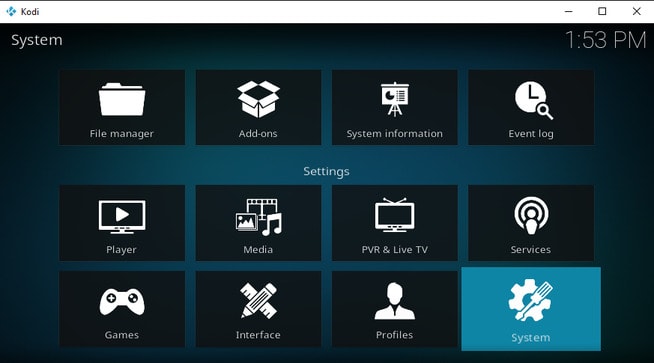
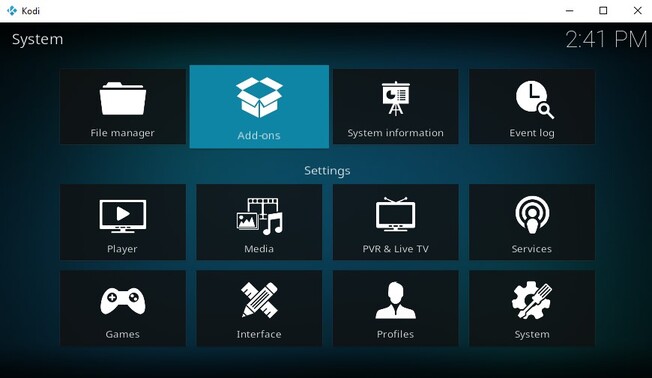
- Select the “System” tile on the next screen to open the system settings.
- In the system settings, click on Add-ons and toggle on Unknown sources. A warning message will pop up. Select Yes to proceed.
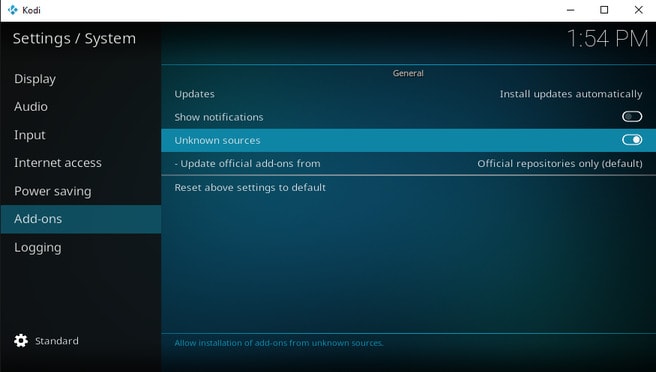
You’ve successfully enabled unknown sources installation by following the above steps. Now you can install add-ons from third-party repositories.
How to Install any Add-Ons on Kodi (Step-by-step Guide)
Installing any add-ons on Kodi requires 3 major processes;
- Add add-on source: in this process, you add the source directory to Kodi to access the add-on ZIP file.
- Install Add-on repository: this process will extract the add-on ZIP file we added from the source the install the repository on Kodi.
- Install Add-on: in this process, we will finally install the add-on from the repository.
Add the add-on source to Kodi.
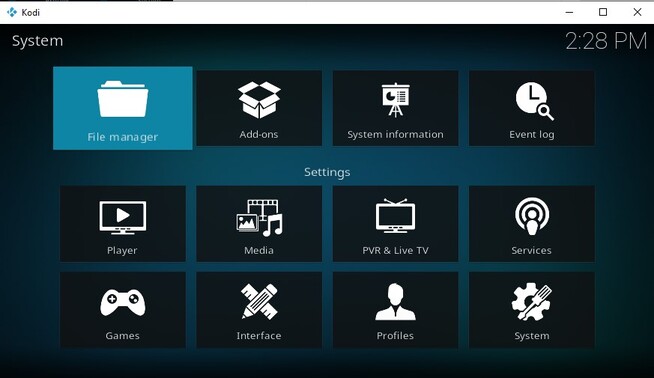
1. Tap the settings icon on the main screen to access the system menu.
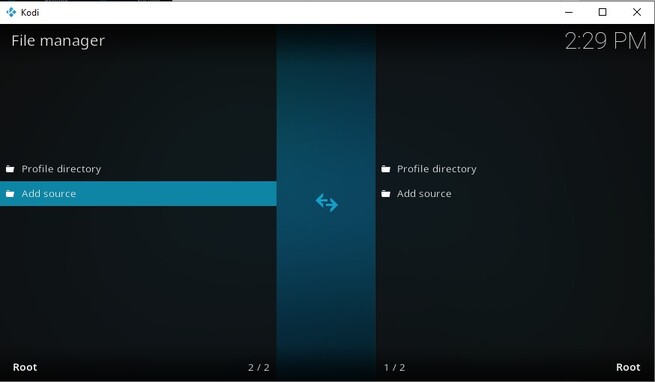
2. Select File Manager to add source directories.
3. Select Add source to add the add-on source.
4. On the next screen, select “<None>.”
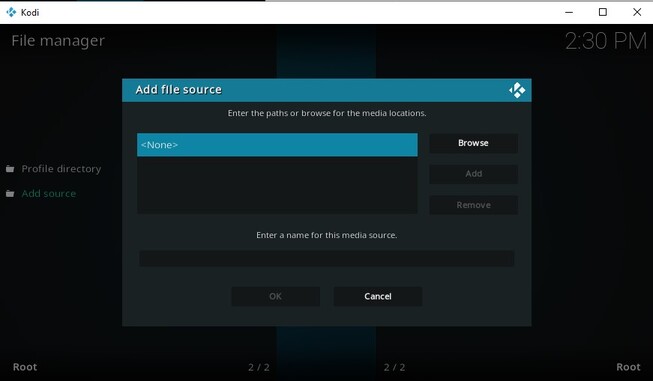
5. Enter the path where the media file is located in the address bar. You can use the keyboard on your device or the on-screen keyboard in the app. After you enter the correct media source of the add-on, select OK.
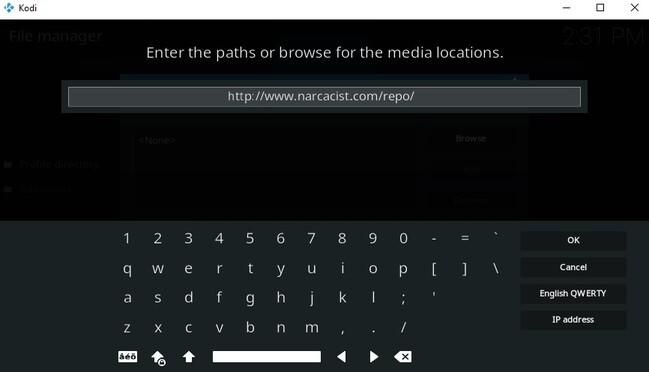
Note: The media file path for this guide Asgard add-on is http://www.narcacist.com/repo/. You must use the correct media path/URL for each add-on you want to install on Kodi.
6. Now enter a name for the media source and click “OK.” I’m using Repo as the source file name in this case, but you can use a different name.
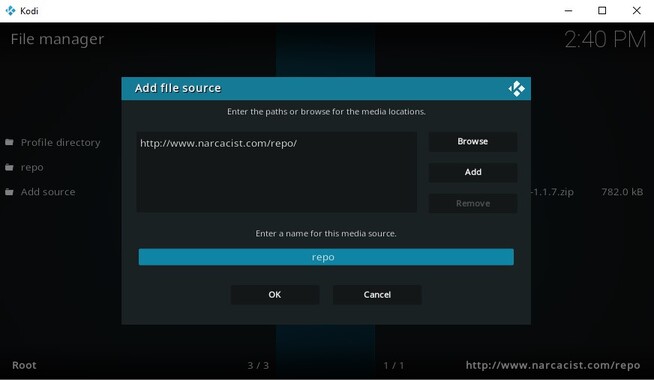
7. Double-check if every detail is correct, then select “OK” to proceed.
After completing the above steps, you’ve successfully added the add-on source to Kodi. Now, let’s move to the next step.
Install Add-on repository
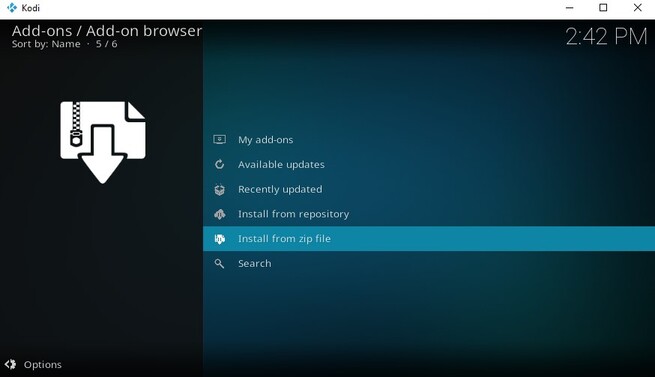
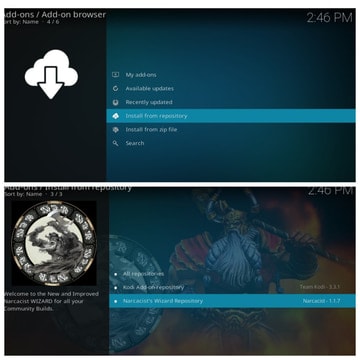
1. On the main screen, click on settings, then select Add-Ons to open the Add-on browser.
2. Click on Install from ZIP file.
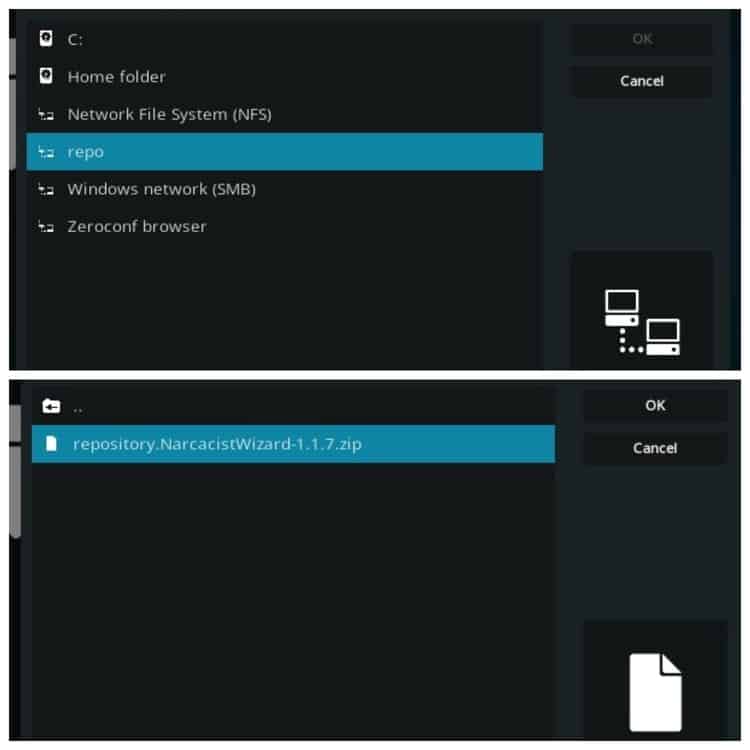
3. Now, select the media source you added earlier.
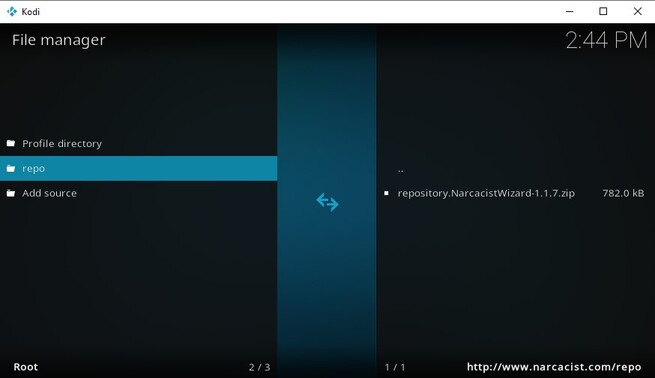
4. Next, click on the repository zip file. Note the repository zip file might be inside a folder. Just open the folder, select the zip file, and click OK to install the Add-on repository.
Now, wait for the add-on repository to be installed. When it is done, you will see a notification at the top right of the screen.
Install the Add-on
1. Follow step 1 of the previous process (Install Add-on repository)
2. Now, select install from the repository.
3. You will see all the add-ons in the repository; select the add-on you wish to install. In this example, I’m selecting Asgard.
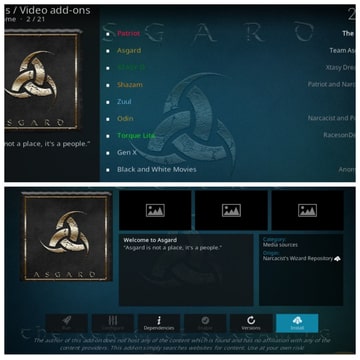
4. Click on install.
Thats all! With this guide, ou can install any add-on on Kodi. Just follow the steps above carefully.